

Reading a worn electrode
A used electrode carries a lot of information if you look at it before the torch is stripped for the next job. Pit depth, colour and the shape of the wear point can narrow the fault down to air quality, amperage, standoff or pierce practice.
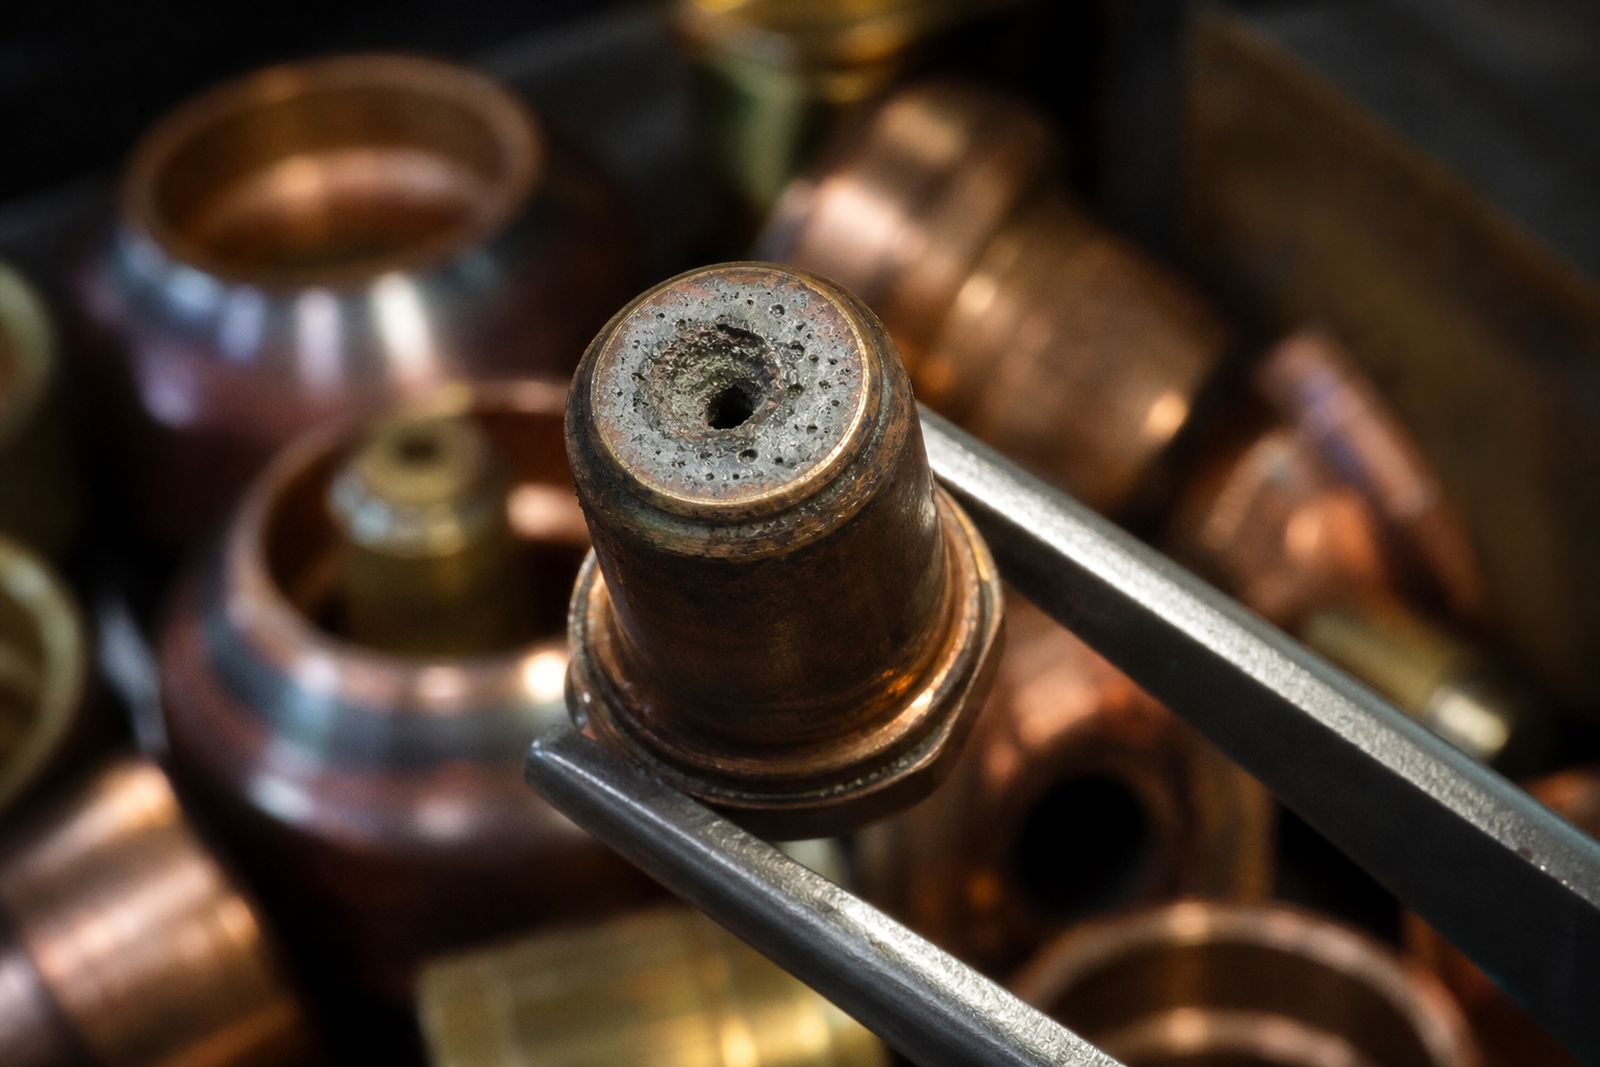
Start with a clean look at the wear point
Before you judge an electrode, wipe off loose dust and dross and look at the centre under good light. Read the pit, the edge around it and any colour change on the face. A magnifier helps on finer consumables, especially on marking and thin-sheet sets where the wear point is small.
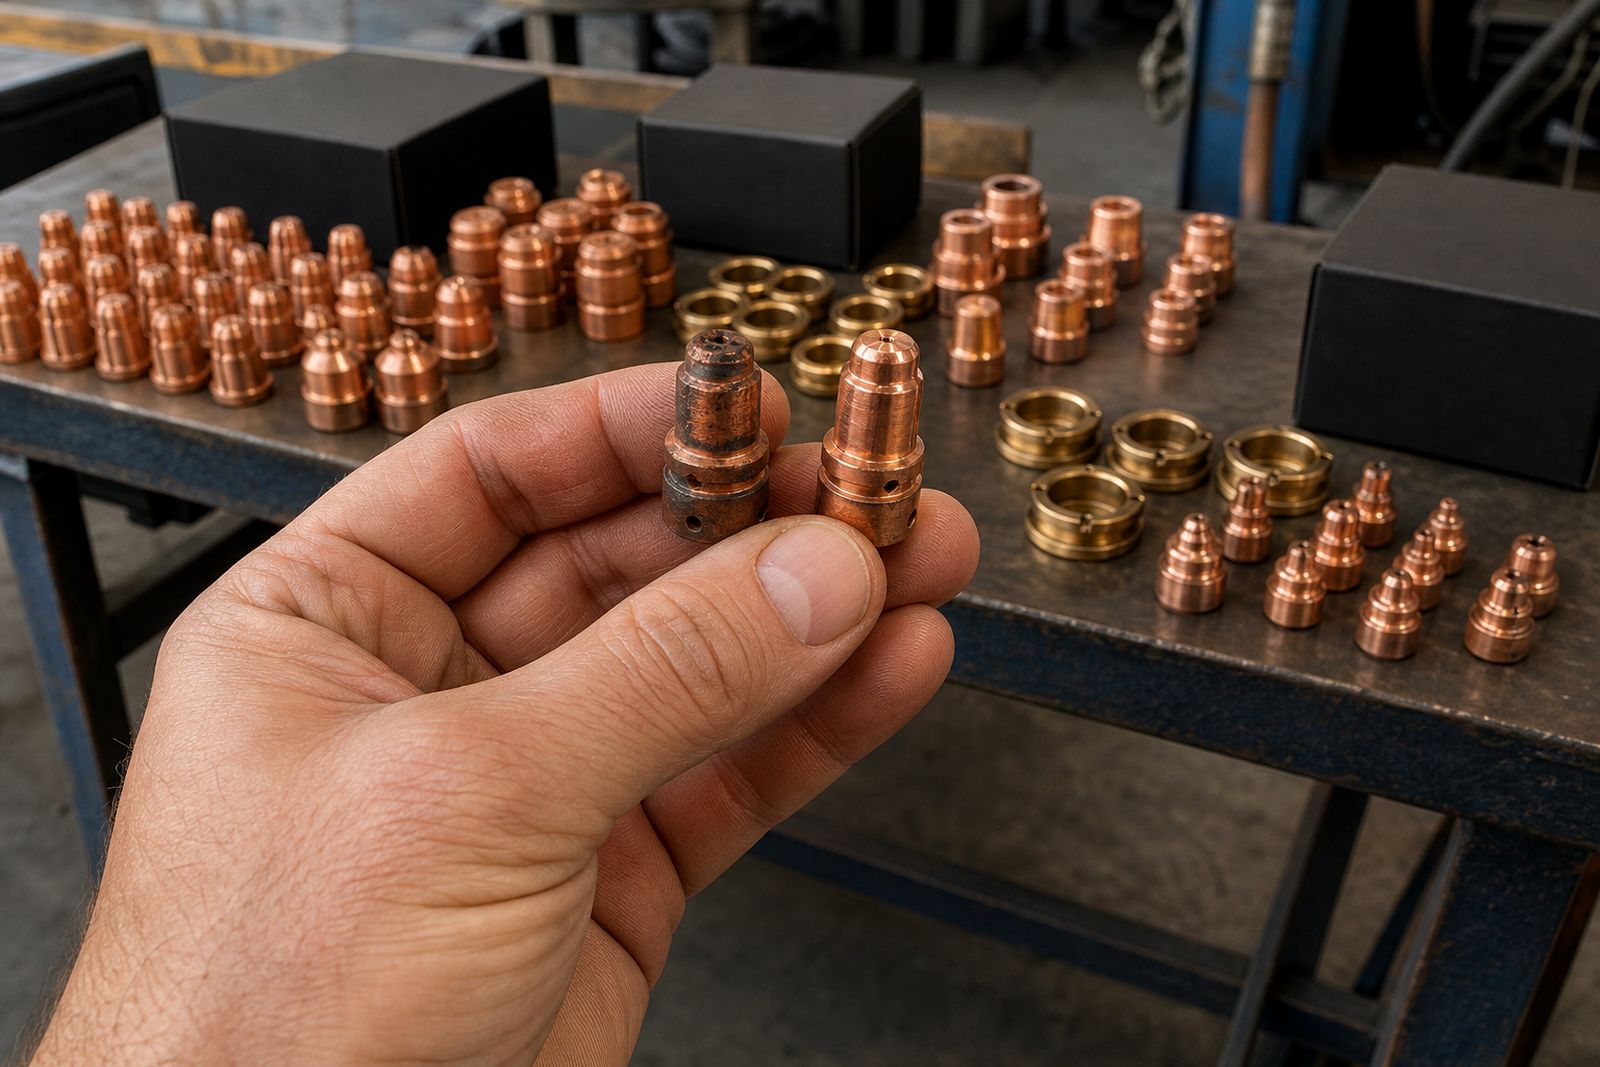
It helps to compare the used electrode with a fresh one from the same torch series. On a healthy setup the pit stays centred and deepens gradually. Wear that races ahead, shifts off centre or leaves strange colour bands often points to conditions outside the consumable itself.
- Check the centre pit depth rather than the outer face alone.
- Look for a round, even crater instead of an oval or lopsided one.
- Note any black soot, white chalky residue or blue heat tint.
- Compare parts only within the same torch series and amperage range.
Pit depth tells you how close the part is to failure
The pit is the first thing most operators look at, and for good reason. A shallow, even pit usually means the electrode is wearing in a normal pattern. A deep pit with a thin rim left around it means the insert is close to letting go, and that is where nozzle damage often follows if the set stays in service too long.
If the pit has become deep very early in the pack, step back before fitting another set and ask what changed on the job. Air condition, torch height and actual cutting current usually leave clues in the wear rate. A single bad shift can burn through parts far quicker than normal, even when the cut quality still looks acceptable.
- Normal wear: centred pit, gradual depth increase, face still reasonably even.
- Fast wear: deep crater early, sharp rim, nozzle often showing matching distress.
- End-stage wear: insert area hollowed out heavily, arc becomes unstable and hard to keep consistent.
When the pit is deep but still centred, air contamination or overcurrent are common suspects. When it is deep and off centre, check alignment, swirl-ring condition and whether the torch has been running too close to the plate.
Colour changes often point to the air line first
Colour is useful because it gives a quick hint before measurements start. A clean metallic face with ordinary heat darkening is one thing. Heavy blackening, oily residue or a crusty pale deposit point more towards the air supply than towards the amperage setting.
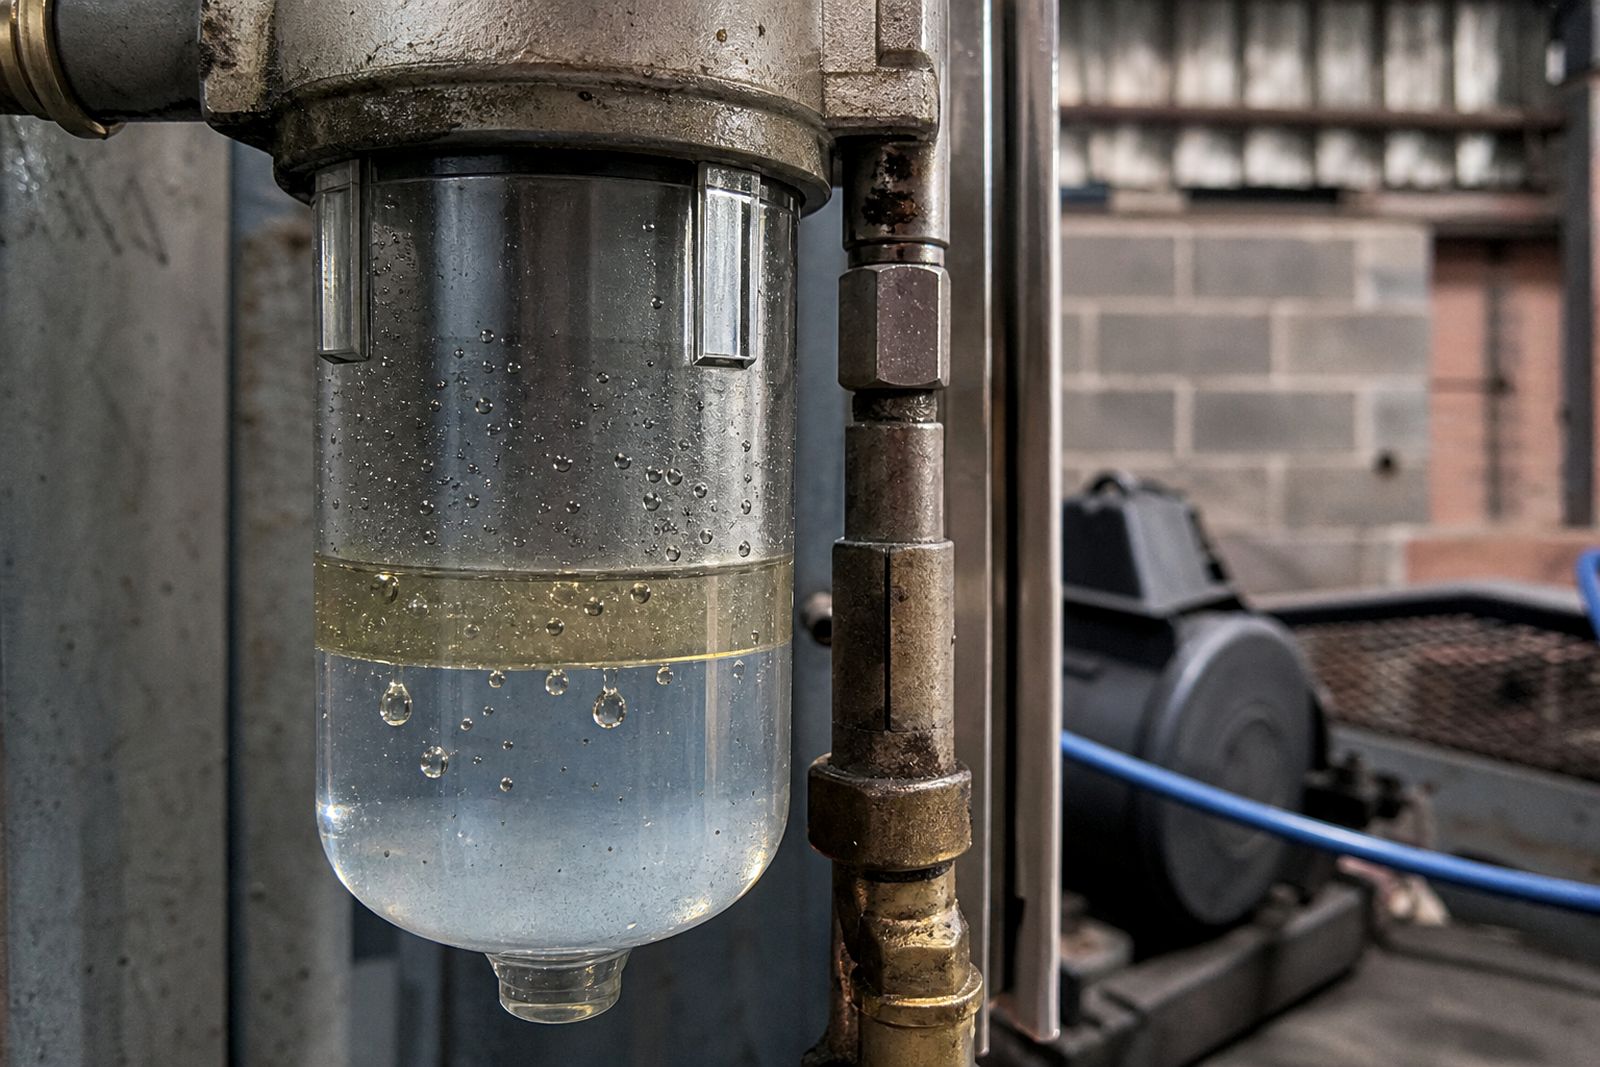
Moisture and oil in compressed air shorten part life quickly, especially on busy cutting bays where compressors cycle hard and drains are neglected. Fine rust dust from old pipework can also reach the torch. In Kempton Park workshops this often shows up after damp mornings or after maintenance on the airline, when debris has been disturbed.
- Black soot can indicate contamination, unstable arc transfer or poor gas flow.
- Blue or straw heat tint over a wide area can suggest excess heat load.
- White or chalky residue may point to moisture carry-over in the air system.
- Speckled deposits can come from dirty lines or filtration that needs attention.
If the electrode face looks dirty and the nozzle or shield carries similar residue, inspect filters, drains and separators before blaming the consumables. Air quality and part life are closely linked, so the full air system needs attention when this pattern shows up.
Crater shape helps separate height faults from current faults
Shape matters as much as depth. A neat round crater usually means the arc stayed where it should. An oval crater, a pit pulled off centre or a face eroded more on one side tells you the arc was not stable in relation to the nozzle opening and the workpiece.
Too little standoff during cutting or piercing can drive heat back into the set and upset the wear pattern. On mechanised work, poor height control, warped plate or a delay that is too long over the pierce can all show up as uneven wear. On hand torches, dragging when the setup expects standoff can do the same.
- Round centred crater: usually steady running conditions.
- Off-centre pit: possible torch alignment issue, damaged swirl ring or nozzle mismatch.
- Elongated crater: arc movement, inconsistent height or rough pierce practice.
- Washed-out face on one side: torch too close, collision, or side loading from contact with plate.
Where the crater shape is poor but colour is fairly normal, height and handling move higher up the suspect list than air quality does.
A quick workshop check after abnormal wear
Once an electrode wears out badly, do not judge that part in isolation. Pull the matching nozzle, shield and swirl ring and read the set as a group. If the nozzle orifice is out of round, the shield face is battered and the electrode pit is off centre, the issue is rarely one bad component from the box.
Run through the basics in order. Confirm the torch series and amperage range are correct. Check that the nozzle, electrode, shield and retaining cap belong together. Then look at height control, actual output current and the state of the air line. This check takes a few minutes and often saves the cost of fitting another pack and hoping the pattern changes.
- Match all parts to the correct torch series.
- Check the nozzle orifice for oval wear or double arcing marks.
- Inspect the swirl ring for cracks, chips or blocked gas passages.
- Confirm actual current is in the rated window for that consumable set.
- Review pierce height and cut height against the job setup.
- Drain air receivers and inspect filtration stages.
When to change the set and when to change the settings
An electrode should be changed before wear damages the rest of the stack. If the crater is already deep and the nozzle is still expected to hold a clean arc, you are leaving too much to chance. Replacing one tired part late often costs more than replacing the pair earlier.
Settings need attention when a fresh set repeats the same wear pattern after a short run. That is the point to stop chasing consumables and start tracing the operating cause. If you need the correct parts for M1, M2, M3, M4 or M5 torches, use our contact form and note the torch series, amperage and the wear pattern you are seeing. A clear photo of the electrode face and nozzle opening helps a lot.
Questions we get asked
Can I judge an electrode without removing the nozzle?
You can spot heavy end-stage wear during a quick check, but a proper reading works best when the matching nozzle and the rest of the stack are inspected at the same time. Wear patterns make more sense when viewed as a set.
Does an off-centre pit always mean the electrode is faulty?
An off-centre pit often points to alignment, height, swirl-ring damage or a nozzle issue. Check the whole torch setup before opening a new pack.
What details should I send if I need help matching parts?
Send the torch series, amperage range, part type needed and a photo of the worn face if you have one. If the wear has been unusually fast, add notes on air condition and whether the problem started during piercing or during the cut.
Also worth a look
Tell us about the job
Send sizes, materials and where you are through our contact form, and we will come back with the practical options.
Open the contact form